
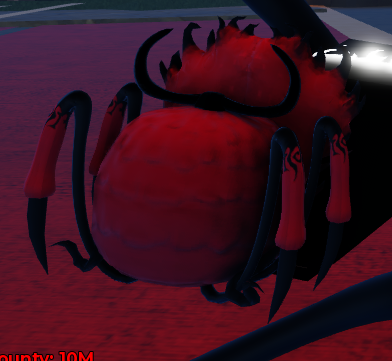
AoE mythic / self-sustain
Huge AoE on every skill plus self-heal in Spider Form make it the strongest farming-and-boss mythical.
Use this page to jump between the Haze Seas fruits, swords, and races tier list sections. Read detailed ratings, passives, and obtainment paths.
All live official fruits ranked for farming, bosses, pressure, and progression.
S Tier
AoE mythic / self-sustain
Huge AoE on every skill plus self-heal in Spider Form make it the strongest farming-and-boss mythical.
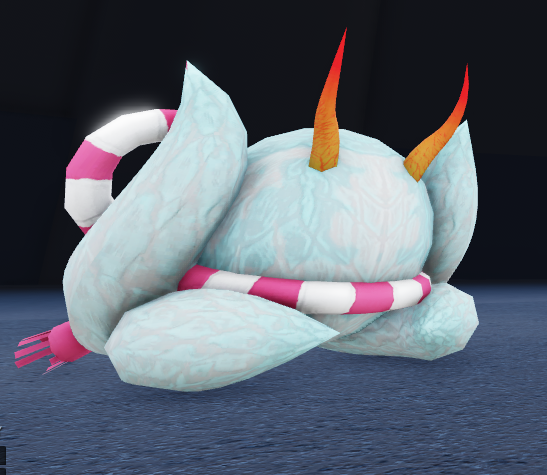
Single-target burst / Full Form
Top single-target burst and a Full Form awakening push its late-game DPS past every other fruit.
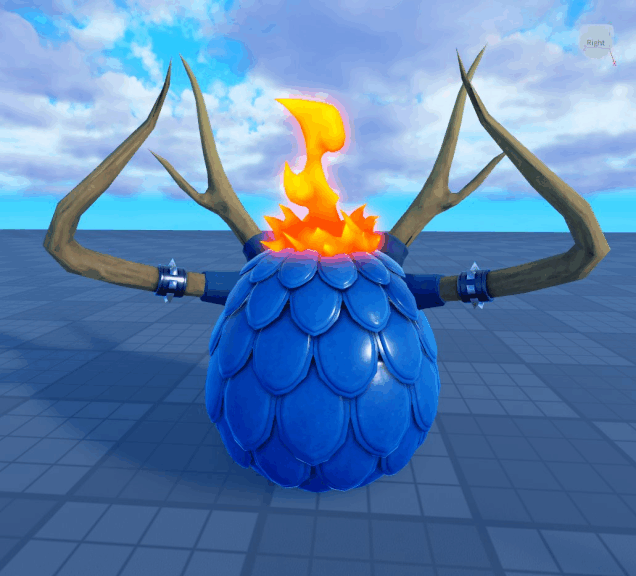
Bossing / endgame carry
High-end damage, boss speed, and late-game carry potential keep it at the top.
Bossing / combo pressure
Reliable combo pressure and strong PvE clear make it one of the safest elite picks.
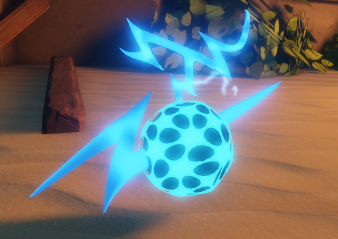
Fast farming / mobility
Lightning mobility plus safe farming reach gives it one of the cleanest grind loops.
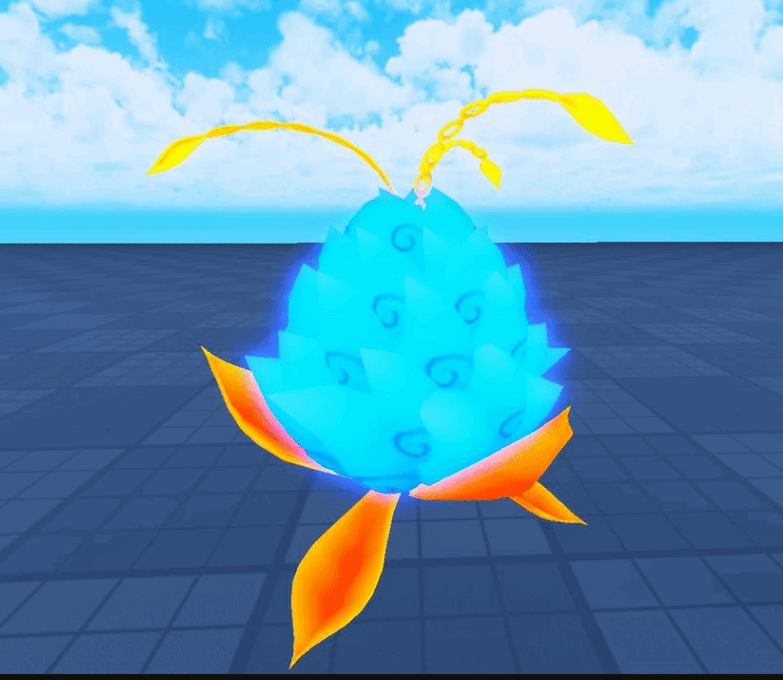
Sustain / mobility
Flight, sustain, and stable area pressure let it stay strong across long sessions.

Burst / late-game scaling
Its burst routes and ranged threat scale well once players know the kit.

Transformation / combos
Strong form path and high payoff combo damage keep it in the top conversation.
A Tier
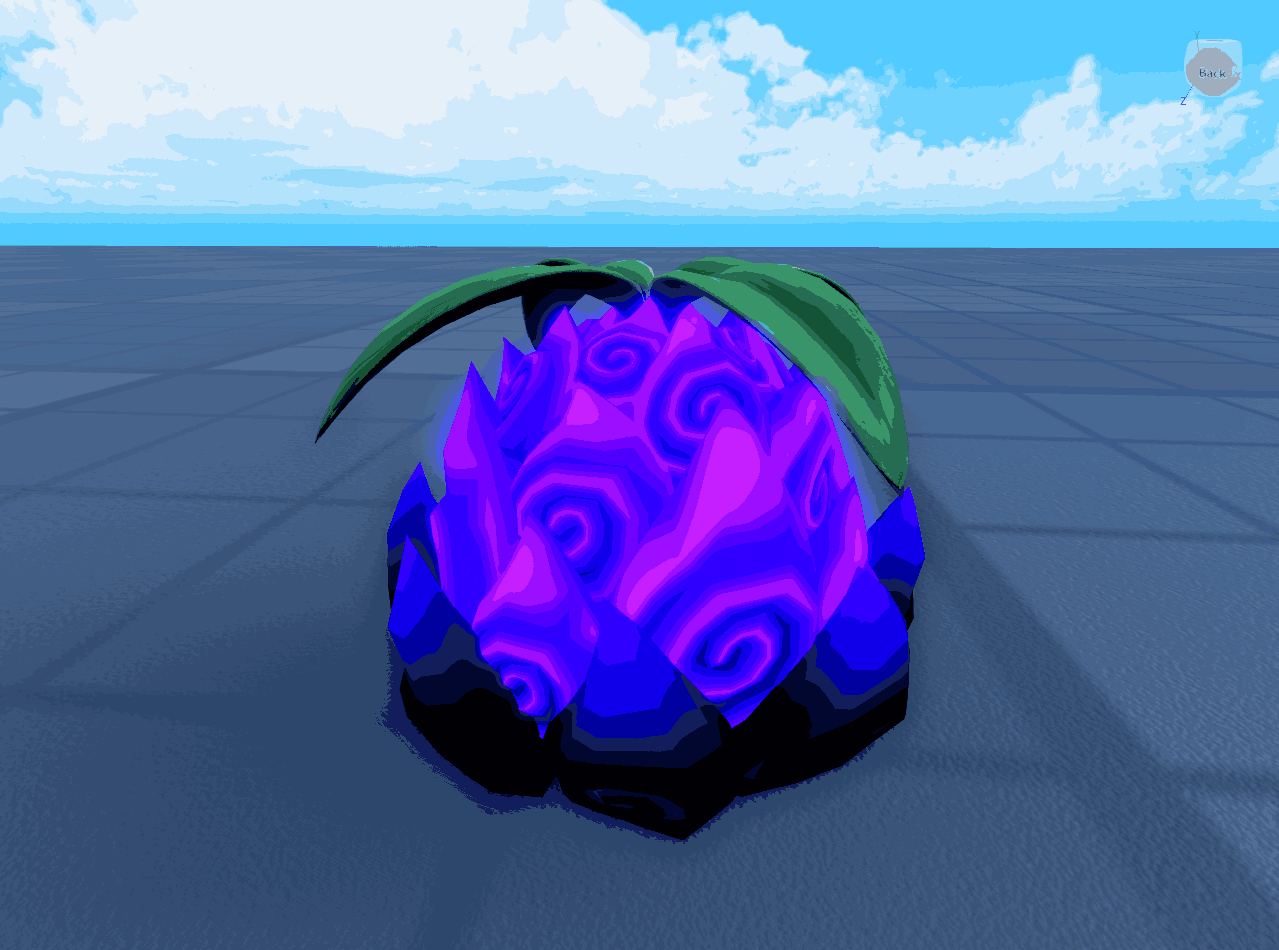
Control / late-game pressure
Pull, control, and heavy follow-up damage are still oppressive, but its core abilities unlock late.

Leveling / movement
Travel speed and easy farming value make it one of the best level-up fruits.
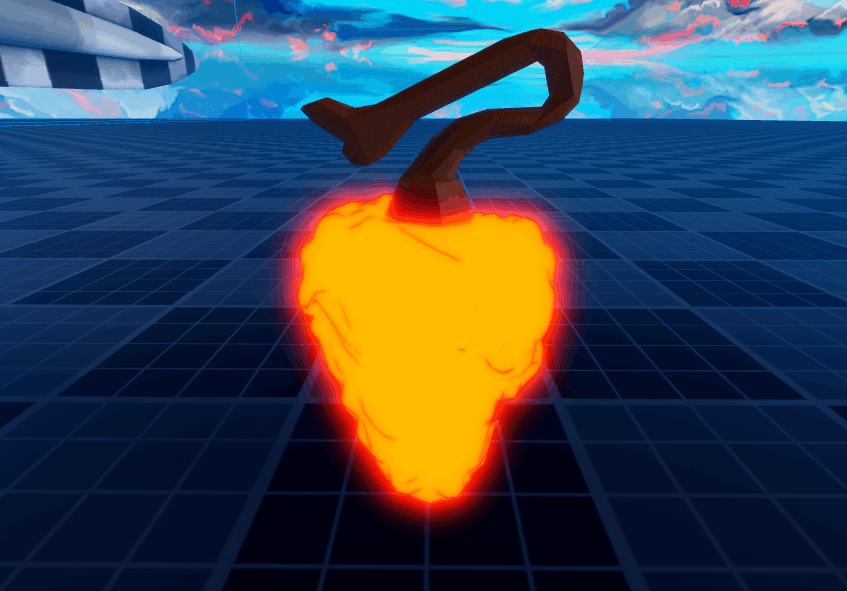
Quest farming / AoE
Wide logia damage and simple quest clearing keep it near the top for progression.

AoE / bosses
Large-area impact and boss control stay valuable even when the meta shifts.

Damage over time / denial
Poison pressure and denial tools give it strong value without perfect execution.

Melee burst / mobility
Fast melee conversions hit hard, but it asks for more commitment than the top band.
Close-range pressure
Very strong close-range pressure, though it is less forgiving than the best all-rounders.
Control / beginner safety
Freeze control and safe starter farming keep it above the middle of the roster.

Ranged control
Its ranged control toolkit is strong, but it does not warp progression like S tier fruits do.
B Tier

Early farming
Efficient early farming and simple logia play keep it useful without pushing top-end value.
Zone control
Zone damage and logia comfort are real strengths, but it is less decisive than stronger options.
Ranged pressure
Good range and pressure are there, but it lacks the standout edge of higher bands.

Control / utility
Useful control and knockback keep it playable, even if the pace feels situational.
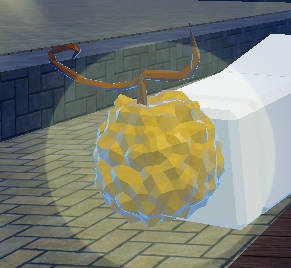
Safe grinding / melee scaling
Very safe for melee grinding, but the best farming fruits clear faster and travel better.

Projectiles / spacing
Decent projectile pressure and movement help, but stronger rares outpace it.
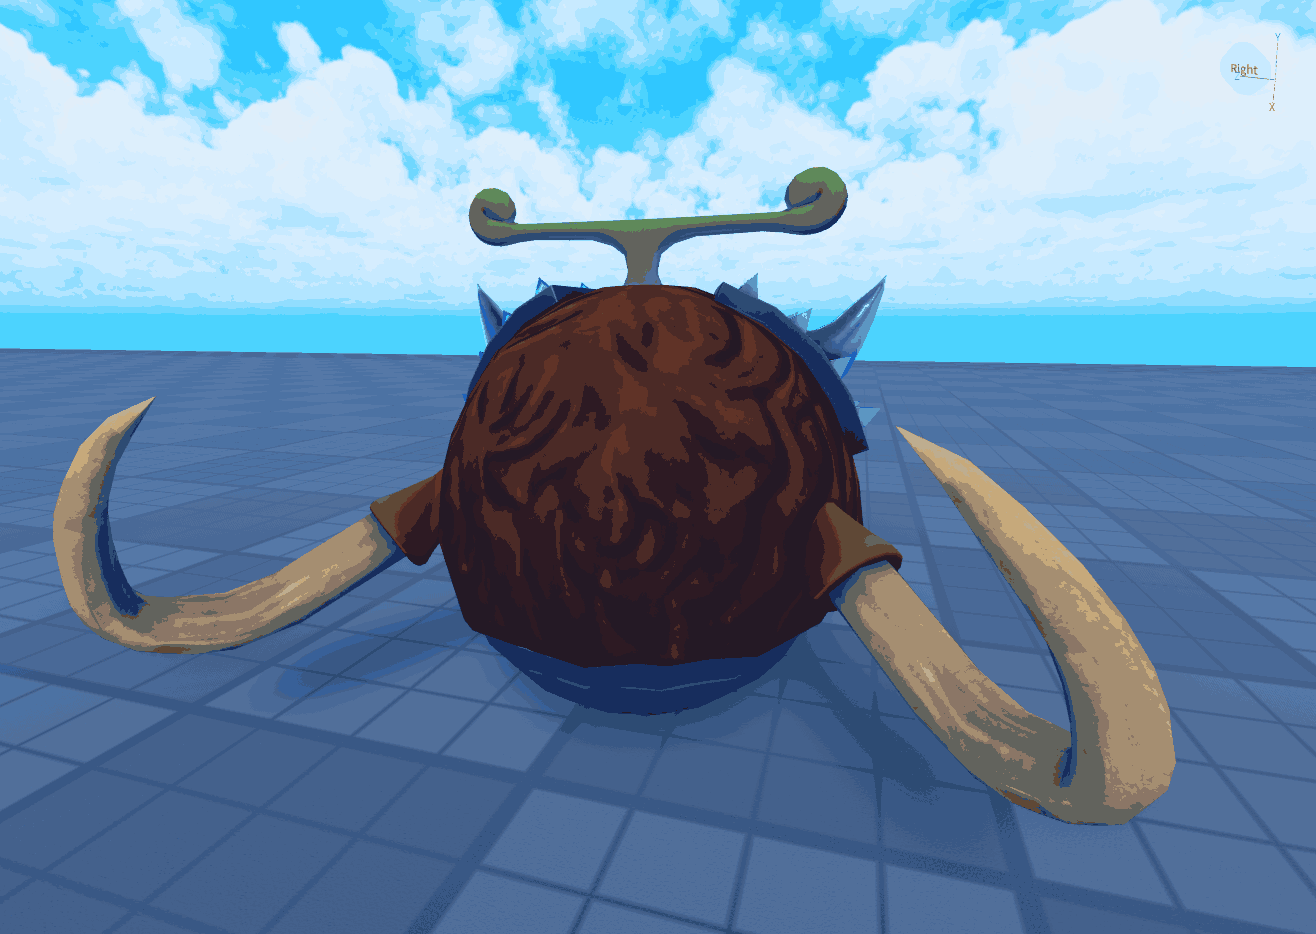
Transformation
A usable transformation pick, though the overall payoff lands short of the higher tiers.

Mobility / ranged AoE
Cupid Fly mobility plus Charm and Love Pistol AoE lift it above the filler bands.

AoE clear / early route
Golem Run clear plus Boulder Throw AoE give it real early-to-mid value.
C Tier

Early AoE
Tack and Levitation hold early AoE, then DPS falls off as the player progresses.
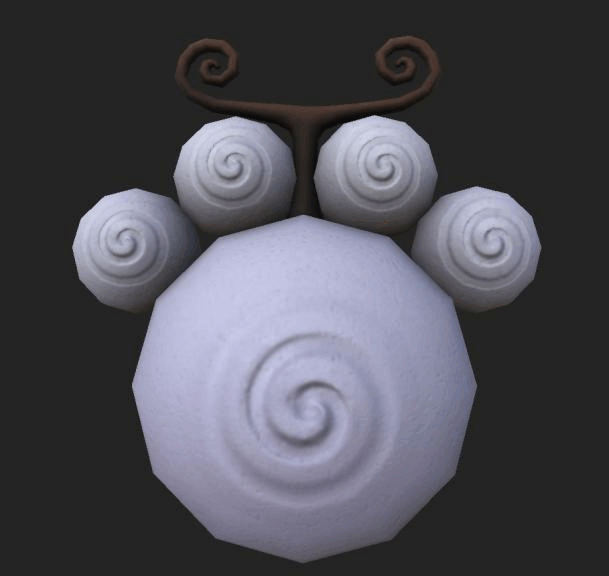
Ranged utility
Its ranged tools can work, but the kit is too niche to rank above steadier fruits.

Early safety
Early logia comfort is helpful, then better farming fruits replace it quickly.

Early grinding
Fine for early grinding, but its damage ceiling does not keep pace for long.
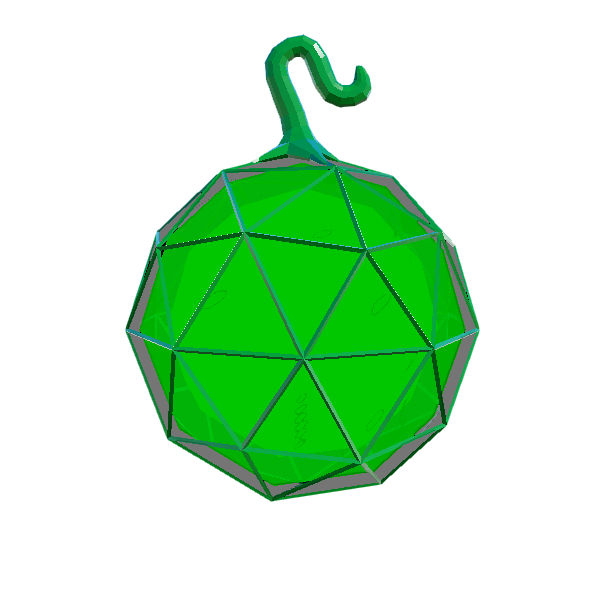
Defense / stalling
Defensive utility exists, but it is too slow for most efficient progression paths.
D Tier

Starter filler
A temporary starter choice with misdirection value, but little reason to keep once upgrades appear.

Starter filler
Starter-only movement and impact value falls off fast when stronger fruits show up.
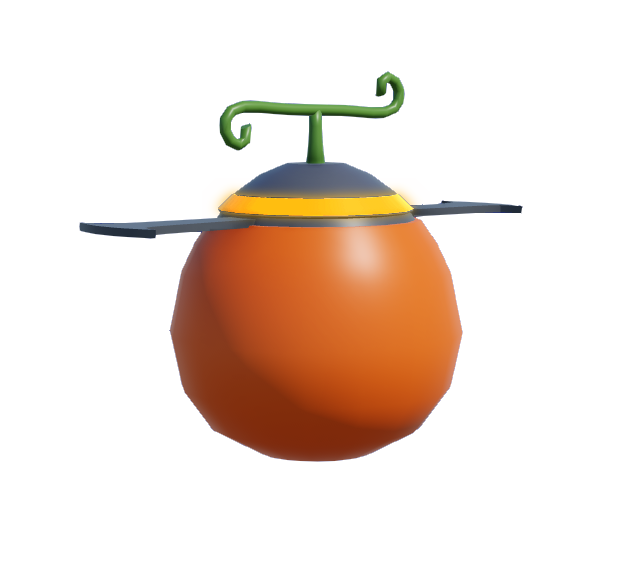
Starter filler
Useful only as short-term filler and rarely worth building around.
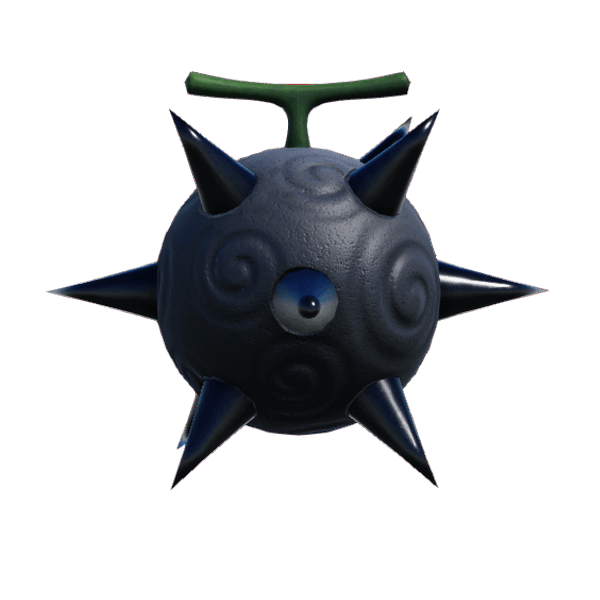
Starter filler
The payoff is too low to keep pace past the opening route.
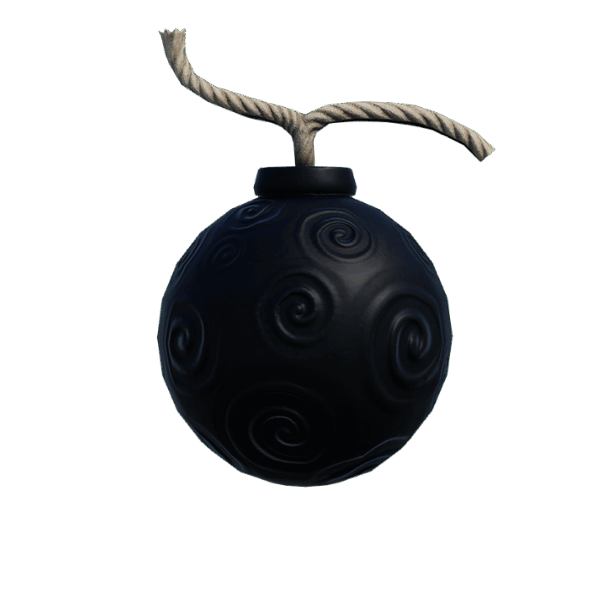
Starter burst
Some early burst helps, but progression moves past it very quickly.
Every live official fruit in one ordered table with a short placement note and a reserved detail-page entry.
| Tier | Fruit | Rarity | Role | Reason |
|---|---|---|---|---|
| S | Saturn | Mythical | AoE mythic / self-sustain | Huge AoE on every skill plus self-heal in Spider Form make it the strongest farming-and-boss mythical. |
| S | Okuchi | Mythical | Single-target burst / Full Form | Top single-target burst and a Full Form awakening push its late-game DPS past every other fruit. |
| S | Dragon | Mythical | Bossing / endgame carry | High-end damage, boss speed, and late-game carry potential keep it at the top. |
| S | Dough | Mythical | Bossing / combo pressure | Reliable combo pressure and strong PvE clear make it one of the safest elite picks. |
| S | Electricity | Mythical | Fast farming / mobility | Lightning mobility plus safe farming reach gives it one of the cleanest grind loops. |
| A | Darkness | Legendary | Control / late-game pressure | Pull, control, and heavy follow-up damage are still oppressive, but its core abilities unlock late. |
| S | Phoenix | Mythical | Sustain / mobility | Flight, sustain, and stable area pressure let it stay strong across long sessions. |
| S | Shadow | Legendary | Burst / late-game scaling | Its burst routes and ranged threat scale well once players know the kit. |
| S | Gum | Mythical | Transformation / combos | Strong form path and high payoff combo damage keep it in the top conversation. |
| A | Light | Rare | Leveling / movement | Travel speed and easy farming value make it one of the best level-up fruits. |
| A | Magma | Legendary | Quest farming / AoE | Wide logia damage and simple quest clearing keep it near the top for progression. |
| A | Tremor | Legendary | AoE / bosses | Large-area impact and boss control stay valuable even when the meta shifts. |
| A | Venom | Legendary | Damage over time / denial | Poison pressure and denial tools give it strong value without perfect execution. |
| A | Leopard | Legendary | Melee burst / mobility | Fast melee conversions hit hard, but it asks for more commitment than the top band. |
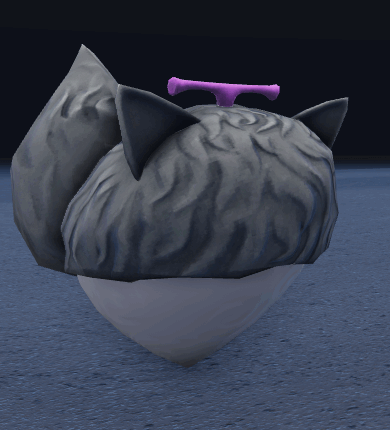
| A | Wolf | Legendary | Close-range pressure | Very strong close-range pressure, though it is less forgiving than the best all-rounders. |
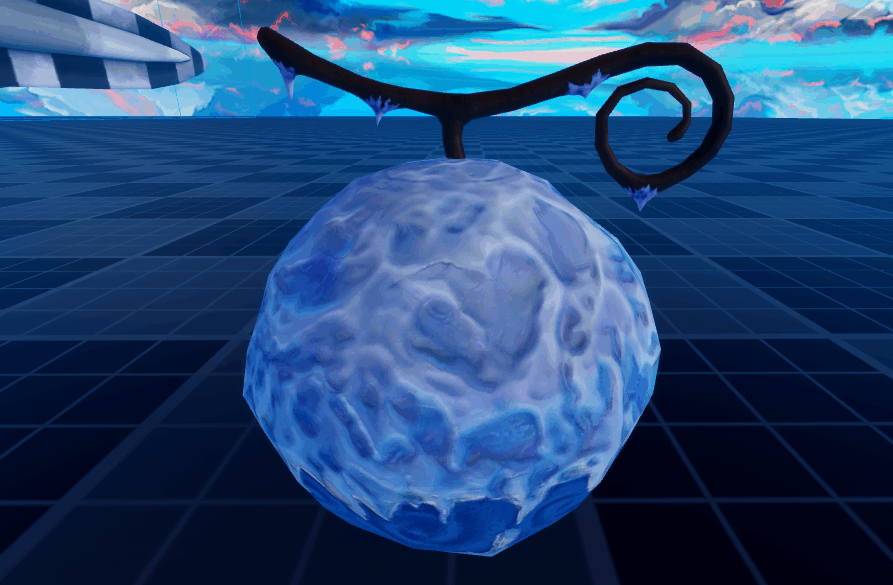
| A | Ice | Rare | Control / beginner safety | Freeze control and safe starter farming keep it above the middle of the roster. |
| A | Magnet | Legendary | Ranged control | Its ranged control toolkit is strong, but it does not warp progression like S tier fruits do. |
| B | Flame | Rare | Early farming | Efficient early farming and simple logia play keep it useful without pushing top-end value. |
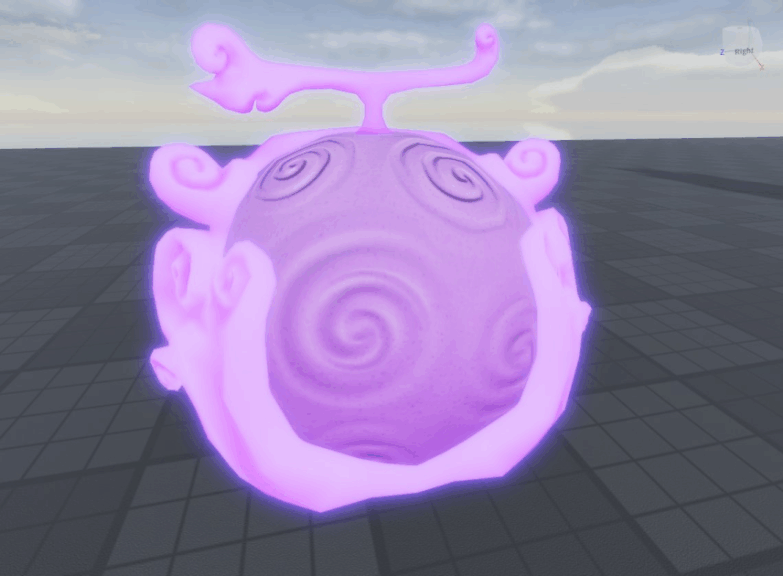
| B | Gas | Rare | Zone control | Zone damage and logia comfort are real strengths, but it is less decisive than stronger options. |
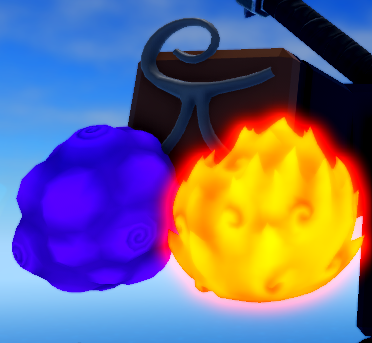
| B | Soul | Legendary | Ranged pressure | Good range and pressure are there, but it lacks the standout edge of higher bands. |
| B | Gravity | Rare | Control / utility | Useful control and knockback keep it playable, even if the pace feels situational. |
| B | Buddha | Uncommon | Safe grinding / melee scaling | Very safe for melee grinding, but the best farming fruits clear faster and travel better. |
| C | Operation | Rare | Early AoE | Tack and Levitation hold early AoE, then DPS falls off as the player progresses. |
| B | String | Uncommon | Projectiles / spacing | Decent projectile pressure and movement help, but stronger rares outpace it. |
| B | Mammoth | Uncommon | Transformation | A usable transformation pick, though the overall payoff lands short of the higher tiers. |
| B | Love | Rare | Mobility / ranged AoE | Cupid Fly mobility plus Charm and Love Pistol AoE lift it above the filler bands. |
| C | Paw | Uncommon | Ranged utility | Its ranged tools can work, but the kit is too niche to rank above steadier fruits. |
| C | Smoke | Uncommon | Early safety | Early logia comfort is helpful, then better farming fruits replace it quickly. |
| C | Sand | Uncommon | Early grinding | Fine for early grinding, but its damage ceiling does not keep pace for long. |
| B | Snow | Uncommon | AoE clear / early route | Golem Run clear plus Boulder Throw AoE give it real early-to-mid value. |
| C | Barrier | Common | Defense / stalling | Defensive utility exists, but it is too slow for most efficient progression paths. |
| D | Vanish | Common | Starter filler | A temporary starter choice with misdirection value, but little reason to keep once upgrades appear. |
| D | Circus | Common | Starter filler | Starter-only movement and impact value falls off fast when stronger fruits show up. |
| D | Spin | Common | Starter filler | Useful only as short-term filler and rarely worth building around. |
| D | Spike | Common | Starter filler | The payoff is too low to keep pace past the opening route. |
| D | Bomb | Common | Starter burst | Some early burst helps, but progression moves past it very quickly. |
All live swords ranked by damage, drop rate difficulty, and general progression utility.
S Tier
Endgame forge / dual-wield meta
Endgame forge craft built on top of Dark Blade V2 with 20 Ancient Blade Relics and Abyssal Eyes — the strongest sword material ceiling in the game.

Damage / PvP & PvE meta
The upgraded Dark Blade is the best sword in the game for both PvP and PvE due to its top-tier damage and speed.
A Tier

Boss drops / progression helper
An easier to acquire sword with strong storm-themed moves. Essential for 3SS and Race V2 progression.
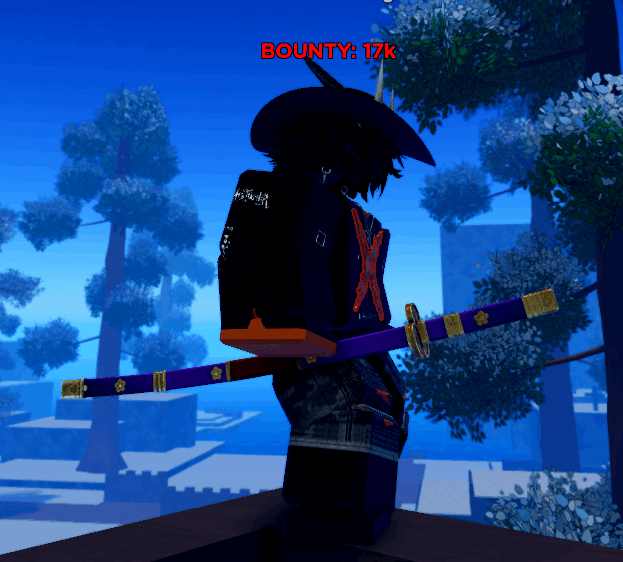
AoE slashes / boss farming
High damage multipliers and wide slash hitboxes. Great for cluster farming and PvE bosses.

Sea 3 forge / Mythical DPS
The Sea 3 forge upgrade adds a Mythical 3SS path with lower mastery breakpoints and strong multi-hit pressure.
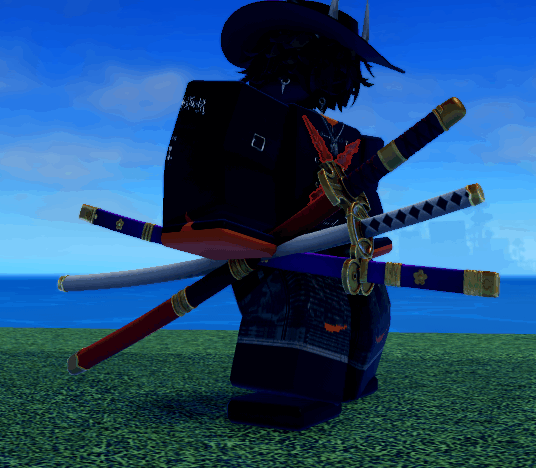
Multi-hit / V2 foundation
Excellent raw multi-hit damage and classic moves. It now acts as the V1 foundation for the Sea 3 forge route.
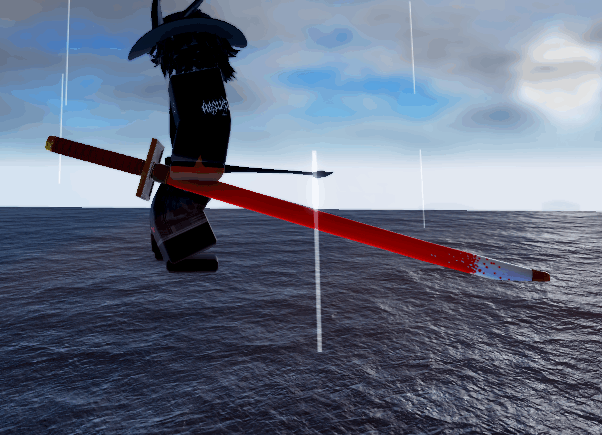
Fast combos / PvP priority
Fast strike combos and quick animation speeds make it an exceptional choice for active PvP setups.
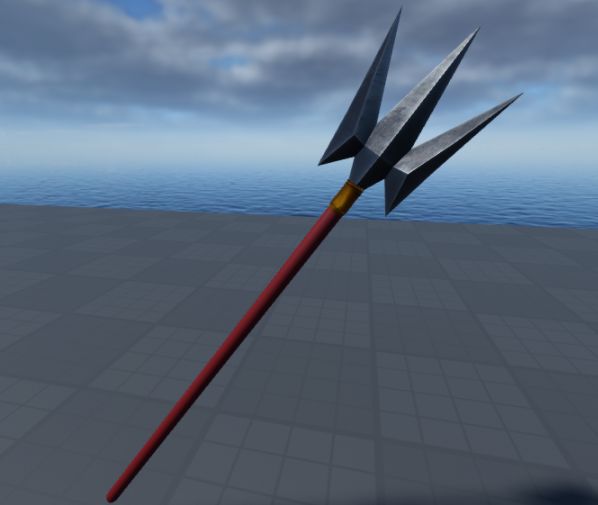
Pull combos / range control
High drop chance from the Dough superboss. Exceptional range and synergistic pull mechanics.
B Tier

Balanced progression
A notable step up from base double-swords, providing steady slash sequences and reliable range.
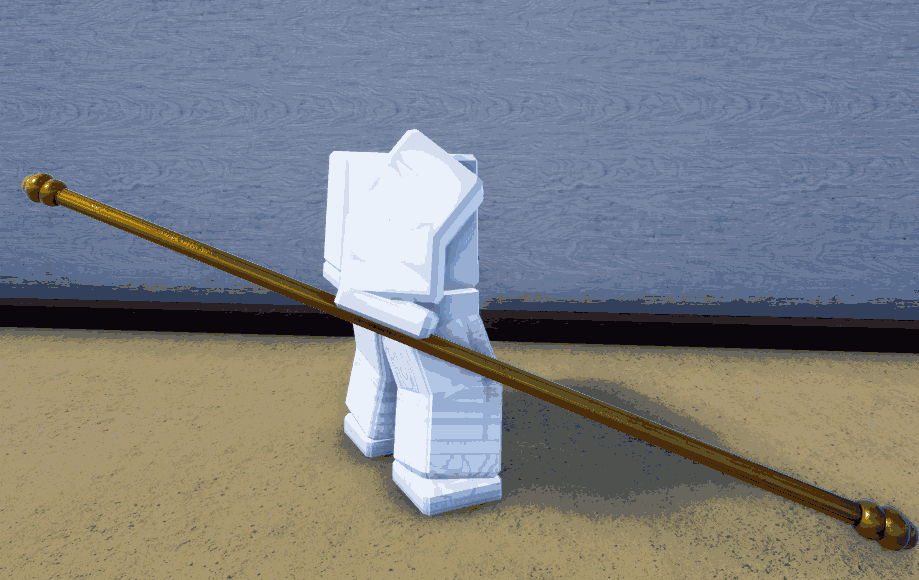
Fruit synergy / utility
Provides a key synergy bonus of +10% damage when paired with the Electricity fruit.
Electricity synergy / Mythical forge
Forged upgrade of Golden Staff that keeps the Electricity fruit +10% damage synergy with a Mythic-tier DPS ceiling.

Heavy impact / Sea 2 farming
A strong Sea 2 drop. High impact and large knockback range, though windup times are slightly slow.
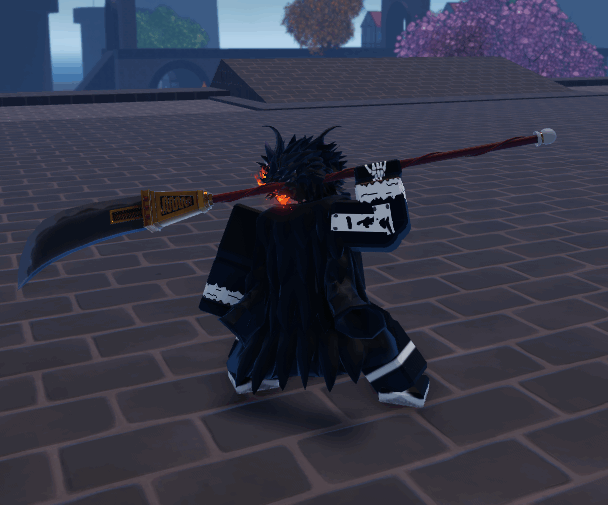
Mob clearing
Enhanced range and power compared to V1, making it a very robust choice for clearing mobs.
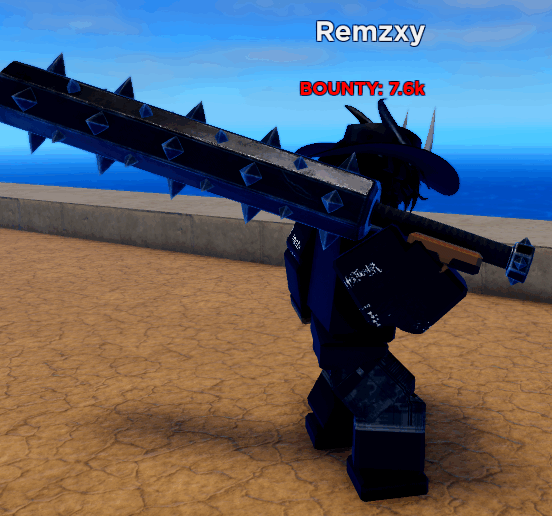
Heavy burst / boss drop
High damage potential from the Dragon Island boss drop, but the 1% drop rate makes it a tedious grind.
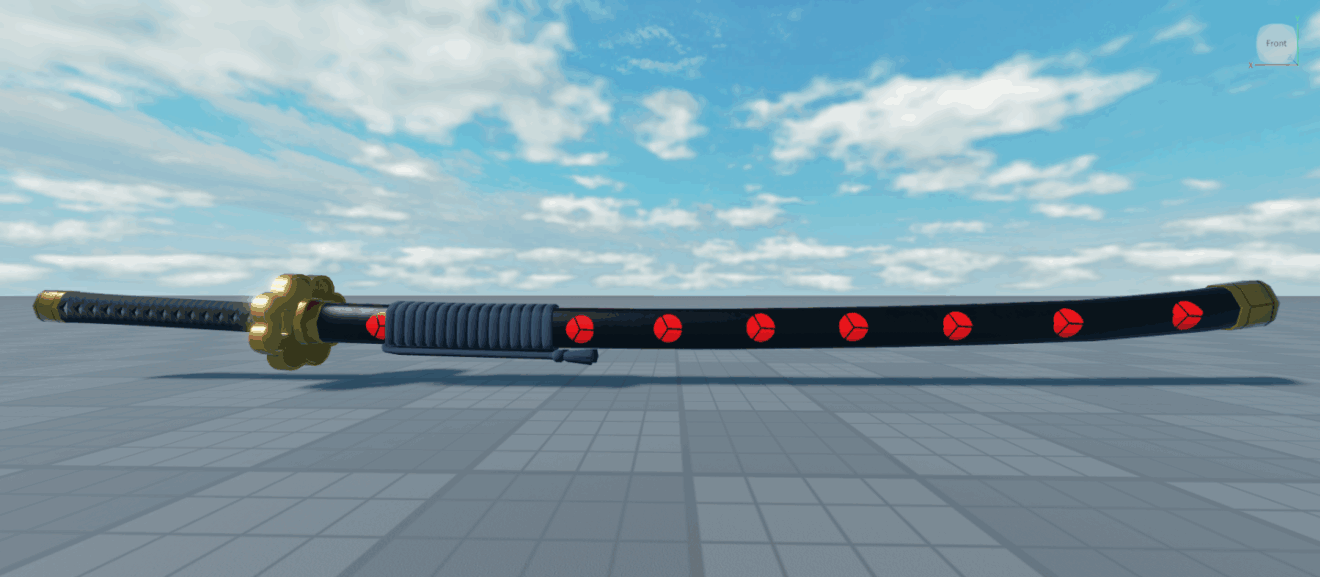
Mid-game transition
Solid mid-game legendary sword drop. Good agility and standard slash damage for Sea 1 finish.
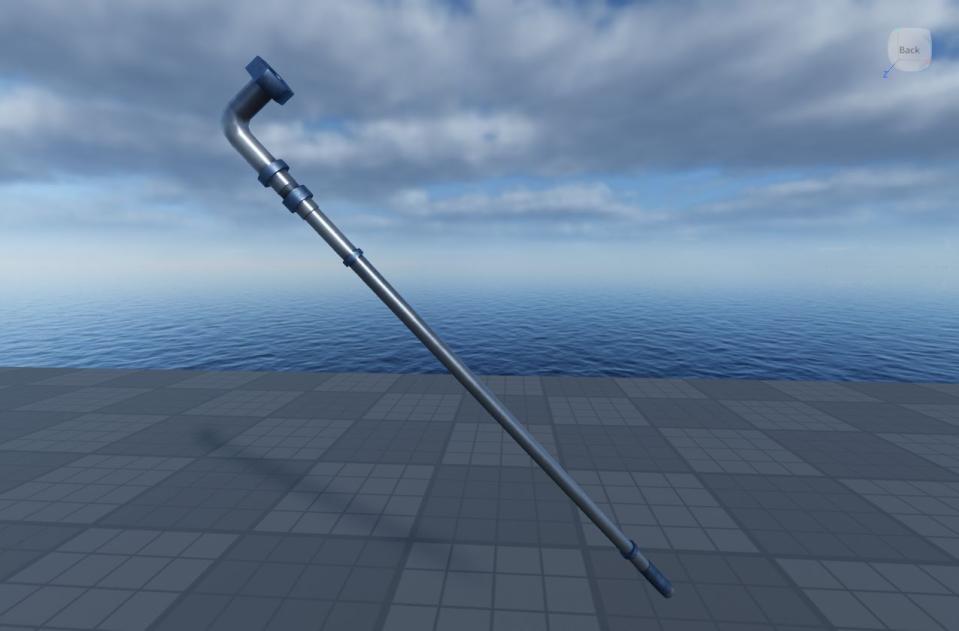
Passive fire buff
Purchasable for $250k. Grants a helpful +10% Fire Effect passive, ideal for Flame or Magma users.
C Tier
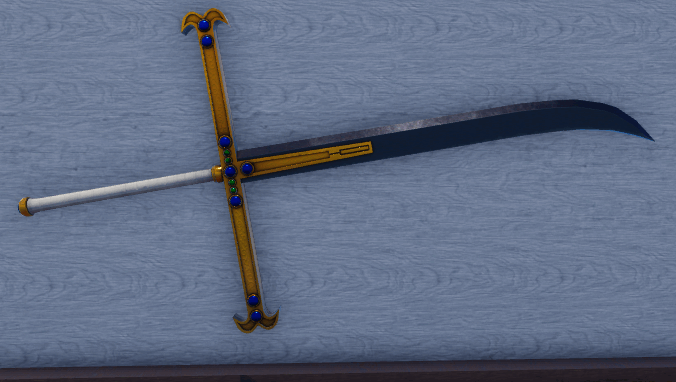
Gamepass starter
Premium base sword. Strong out of the gate, but needs the Foggy Castle upgrade to match endgame meta.
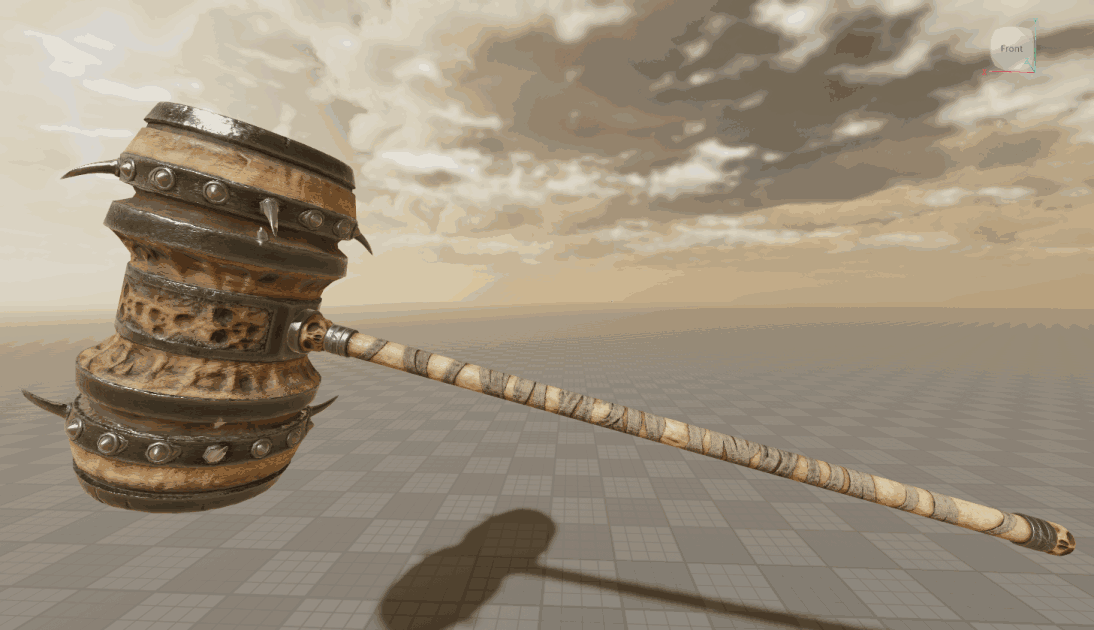
Early bossing
Heavy damage with slow execution. Useful for early bosses but too slow for competitive PvP.
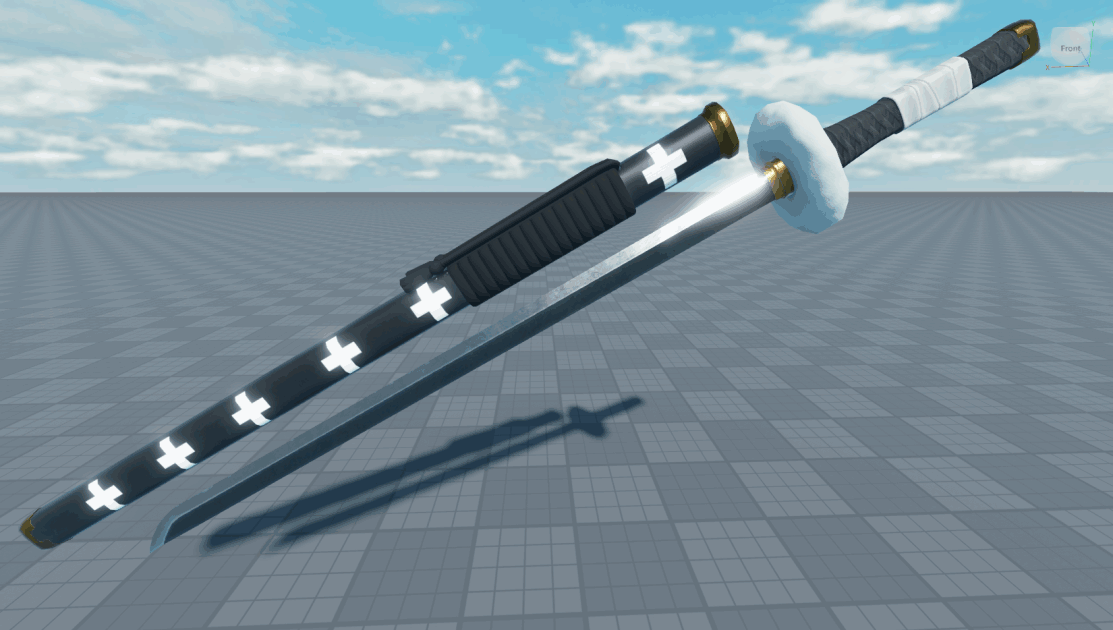
Starter purchase
Bought from Magma Minion. Decent range but lacks the damage scaling needed for mid-game onwards.
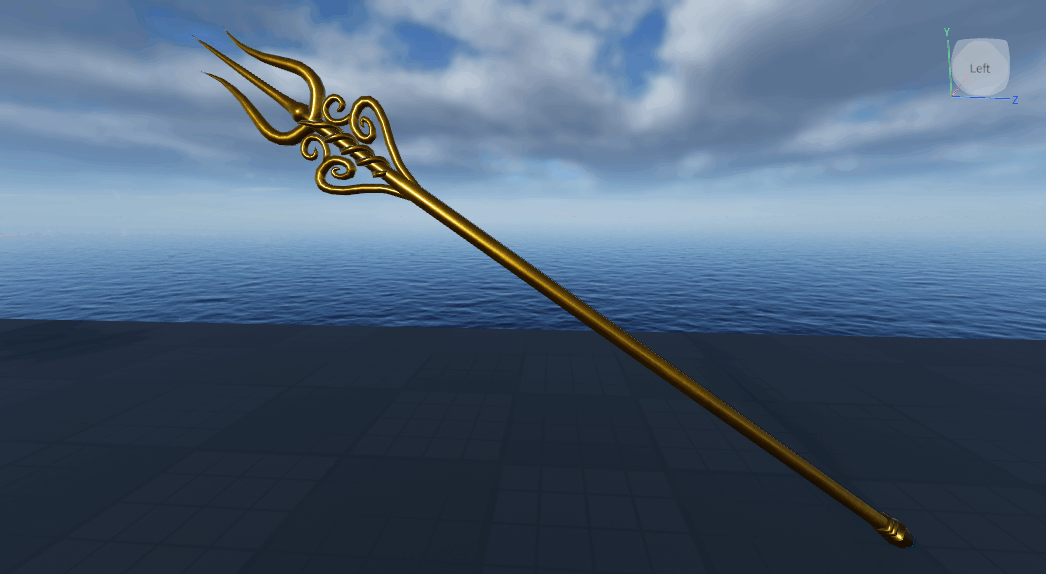
Early exploration
Provides basic poking utility. Replaced quickly once you enter Sea 2.
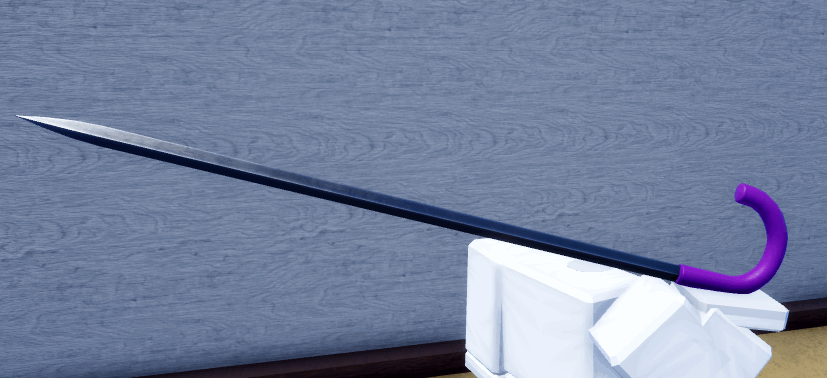
Freeze utility
Cheap purchase from Mr Skeleton. Provides some freezing control, though its raw damage is mediocre.
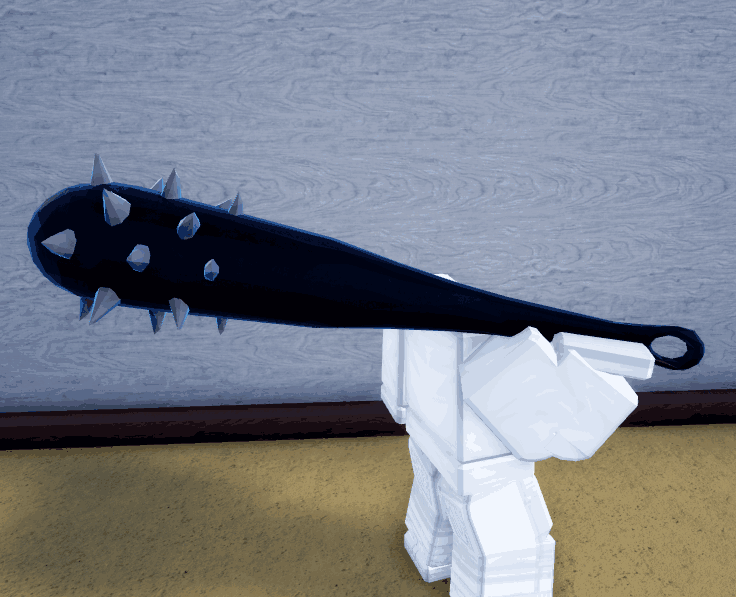
Guaranteed starter drop
Guaranteed drop from the Mace Boss. Decent beginner hammer, but outclassed by swords with faster slashes.
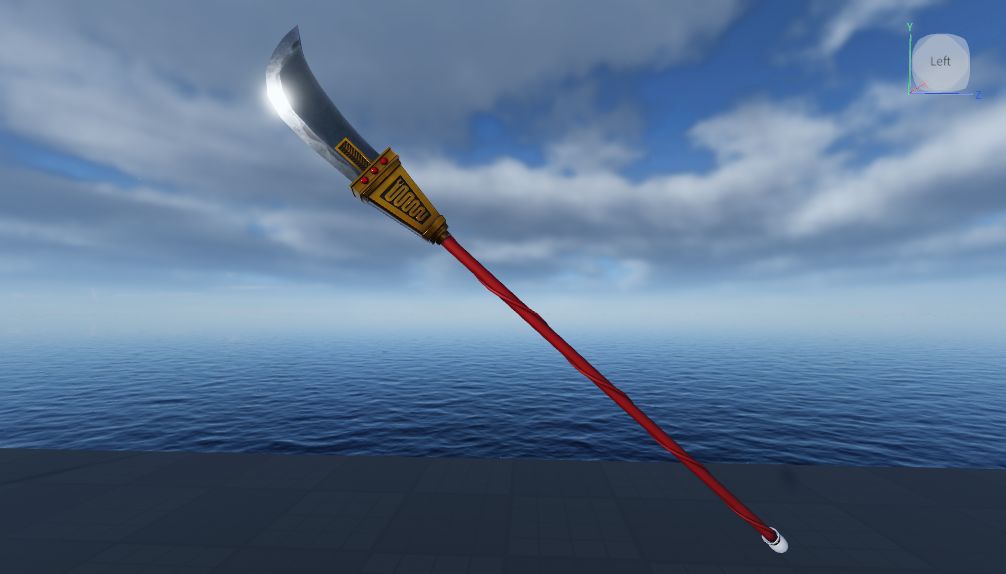
Starter purchase
Decent early coverage but expensive ($500k) for its performance tier.
D Tier
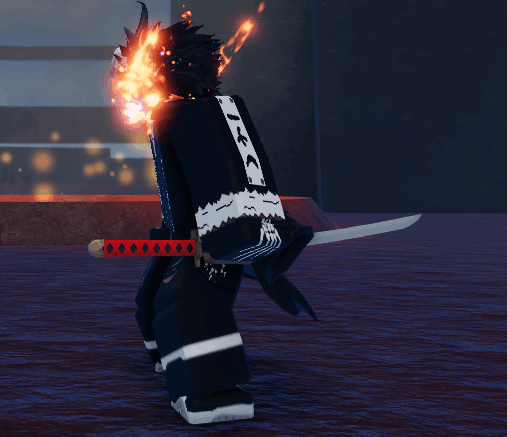
First weapon
Basic starter weapon bought for $1,200. Meant for the opening levels only.
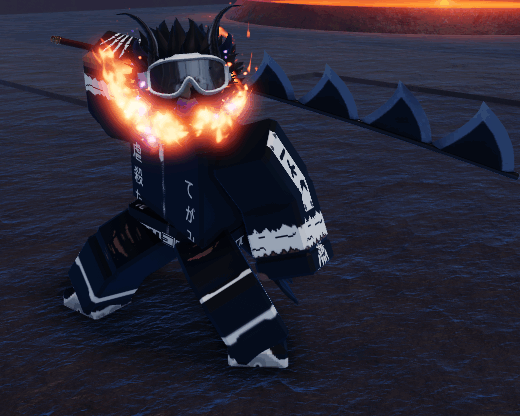
Collectible filler
Low base damage and short hitboxes make it a temporary collectible rather than a combat choice.
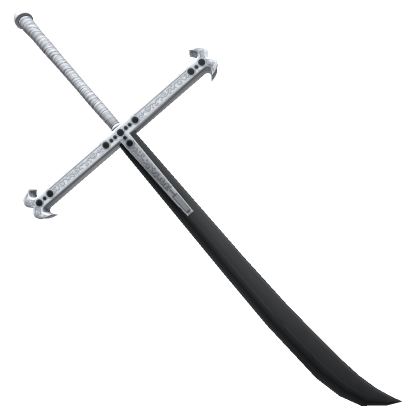
UGC cosmetic utility
UGC-tied collectible with standard basic attacks. Minimal long-term progression value.
All live swords ranked by performance, with obtainment sources.
| Tier | Sword | Role / Focus | Obtainment | Reason |
|---|---|---|---|---|
| S | Dual Dark Blade | Endgame forge / dual-wield meta | Crafted by Doran the Forge with 20 Ancient Blade Relic, 300 Mastery on Dark Blade V2, 5 Abyssal Eye, $20M, and Max Sword Mastery on at least 10 Swords (500). | Endgame forge craft built on top of Dark Blade V2 with 20 Ancient Blade Relics and Abyssal Eyes — the strongest sword material ceiling in the game. |
| S | DarkBlade v2 | Damage / PvP & PvE meta | DarkBlade Upgrader quest in Foggy Castle after owning Dark Blade V1. | The upgraded Dark Blade is the best sword in the game for both PvP and PvE due to its top-tier damage and speed. |
| A | Zenith | Boss drops / progression helper | 100% drop from Zenith boss in Shadow Island cave. | An easier to acquire sword with strong storm-themed moves. Essential for 3SS and Race V2 progression. |
| A | Enma | AoE slashes / boss farming | 10% drop from Enma Boss at Flower Capital mansion; boss spawns every 1 hour. | High damage multipliers and wide slash hitboxes. Great for cluster farming and PvE bosses. |
| A | 3 Sword Style V2 | Sea 3 forge / Mythical DPS | Craftable via Doran the Forge in Land of the Gods. | The Sea 3 forge upgrade adds a Mythical 3SS path with lower mastery breakpoints and strong multi-hit pressure. |
| A | 3 Sword Style V1 | Multi-hit / V2 foundation | Requires at least 3 swords at 300 Mastery, then interact with the 3SS Rock in Sea 3. | Excellent raw multi-hit damage and classic moves. It now acts as the V1 foundation for the Sea 3 forge route. |
| A | Raiu | Fast combos / PvP priority | Given by the NPC behind the skull on Skull Island after bringing the Scroll drop from Shiryu. | Fast strike combos and quick animation speeds make it an exceptional choice for active PvP setups. |
| A | Dough Trident | Pull combos / range control | 50% drop from Dough Superboss. | High drop chance from the Dough superboss. Exceptional range and synergistic pull mechanics. |
| B | 2 Sword Style V2 | Balanced progression | Unlocked through Doc. White after owning 2SS V1 and bringing the book drop from Dual Swordsman Boss. | A notable step up from base double-swords, providing steady slash sequences and reliable range. |
| B | Golden Staff | Fruit synergy / utility | 1% drop from Thunder God on Sky Island. | Provides a key synergy bonus of +10% damage when paired with the Electricity fruit. |
| B | Golden Staff V2 | Electricity synergy / Mythical forge | Crafted by Doran the Forge with 300 Golden Staff Mastery, $2M, and 1 Raijin Core. | Forged upgrade of Golden Staff that keeps the Electricity fruit +10% damage synergy with a Mythic-tier DPS ceiling. |
| B | SeaBeast Hammer v2 | Heavy impact / Sea 2 farming | 3.5% drop from White Sea Beast in Sea 2. | A strong Sea 2 drop. High impact and large knockback range, though windup times are slightly slow. |
| B | Bisento V2 | Mob clearing | Current Bisento evolution card on the official Trello. | Enhanced range and power compared to V1, making it a very robust choice for clearing mobs. |
| B | Mace V2 | Heavy burst / boss drop | 1% drop from Mace V2 Boss on Dragon Island. | High damage potential from the Dragon Island boss drop, but the 1% drop rate makes it a tedious grind. |
| B | Shusui | Mid-game transition | Current sword card on the official Trello. | Solid mid-game legendary sword drop. Good agility and standard slash damage for Sea 1 finish. |
| B | Pipe | Passive fire buff | Bought from Soba in Marine Base Town for $250k. | Purchasable for $250k. Grants a helpful +10% Fire Effect passive, ideal for Flame or Magma users. |
| C | Yoru (Dark Blade) | Gamepass starter | Dark Blade gamepass sword. | Premium base sword. Strong out of the gate, but needs the Foggy Castle upgrade to match endgame meta. |
| C | SeaBeast Hammer | Early bossing | 50% Sea Beast drop. | Heavy damage with slow execution. Useful for early bosses but too slow for competitive PvP. |
| C | Operation Blade | Starter purchase | Bought from Magma Minion for $250k. | Bought from Magma Minion. Decent range but lacks the damage scaling needed for mid-game onwards. |
| C | Fishman Trident | Early exploration | Bought from Fork Merchant on Fishman Island with Fork + $50k. | Provides basic poking utility. Replaced quickly once you enter Sea 2. |
| C | Soul Cane | Freeze utility | Bought from Mr Skeleton for $100k. | Cheap purchase from Mr Skeleton. Provides some freezing control, though its raw damage is mediocre. |
| C | Mace | Guaranteed starter drop | 100% drop from Mace Boss. | Guaranteed drop from the Mace Boss. Decent beginner hammer, but outclassed by swords with faster slashes. |
| C | Bisento v1 | Starter purchase | Bought from Bella at Marine HQ for $500k. | Decent early coverage but expensive ($500k) for its performance tier. |
| D | Katana | First weapon | Bought from Sword Shop on Starter Island for $1,200. | Basic starter weapon bought for $1,200. Meant for the opening levels only. |
| D | Shark Blade | Collectible filler | Current sword card on the official Trello. | Low base damage and short hitboxes make it a temporary collectible rather than a combat choice. |
| D | WhiteBlade | UGC cosmetic utility | Linked to the Dark Blade UGC limited check. | UGC-tied collectible with standard basic attacks. Minimal long-term progression value. |
All live races ranked by PvP, PvE, survivability, and unique abilities.
S Tier
Conqueror's Haki / Elite stats
The absolute pinnacle of races. Provides stellar stat boosts and exclusive access to Conqueror's Haki, making it supreme for both PvP and PvE.
High defense / Glide utility
Outstanding survival stats and passive health regeneration. The V2 glide ability grants excellent aerial repositioning during boss fights.
A Tier
Lifesteal / passive DPS
An underrated option offering consistent healing in long fights. Hellfire circles add passive damage triggers when active.
Water immunity / fast swimming
Water Immunity is a game-changer for Fruit users. The speed burst on exiting water makes island hops extremely smooth.
Observation Dodge / clutch speed
Surprisingly competitive. The extra Observation Dodge significantly increases PvP survival, and low-health speed boosts aid escapes.
B Tier
Mobility / dash stamina
Excellent for exploration and sword/melee stamina spam. However, it offers no direct combat damage or health regeneration buffs.
C Tier
Gliding / map traversal
Fun for flying around the map and early traversal, but offers zero combat or defensive passives in active encounters.
All live races ranked by performance, with passives and combat utility.
| Tier | Race | Rarity | V1 Passive | V2 Passive | Reason |
|---|---|---|---|---|---|
| S | D.Clan | Mythical | +5% HP, +5% Stamina, Conqueror's Spirit (250 Stamina cost) | +10% HP, +10% Stamina, Conqueror's Spirit costs 200 Stamina | The absolute pinnacle of races. Provides stellar stat boosts and exclusive access to Conqueror's Haki, making it supreme for both PvP and PvE. |
| S | Dragonborne | Legendary | +10% HP, +10% HP Regen, +25% First Skywalk Boost | +10% HP, Glide Ability (hold Space to fall 2x slower) | Outstanding survival stats and passive health regeneration. The V2 glide ability grants excellent aerial repositioning during boss fights. |
| A | Demon | Rare | +2.5% Lifesteal | +3% Lifesteal, 10% chance to summon hellfire circle on Dash | An underrated option offering consistent healing in long fights. Hellfire circles add passive damage triggers when active. |
| A | Fishborne | Uncommon | +50% Swim Speed | 2x Swim Speed, 2x Walkspeed for 4s after leaving water, Water Damage Immunity | Water Immunity is a game-changer for Fruit users. The speed burst on exiting water makes island hops extremely smooth. |
| A | Human | Common | +25% Walkspeed under 70% HP | +50% Walkspeed under 70% HP, +1 Observation Dodge | Surprisingly competitive. The extra Observation Dodge significantly increases PvP survival, and low-health speed boosts aid escapes. |
| B | Beastborne | Uncommon | +20% Walkspeed, +5% Stamina | +50% Walkspeed, +10% Stamina | Excellent for exploration and sword/melee stamina spam. However, it offers no direct combat damage or health regeneration buffs. |
| C | Skyborne | Uncommon | +50% First Skywalk Boost | Glide Ability, 2x First Skywalk Power | Fun for flying around the map and early traversal, but offers zero combat or defensive passives in active encounters. |